Create a Garden

Set garden details, add the initial team, then deploy.
What this helps you do
Create a new garden in Green Goods admin so the community has a place to join, submit work, and later report impact. Deployment creates the starting garden record; members, actions, and settings can still be updated after launch.
Creating a garden is a deployer-level action. Existing garden operators do not need this page unless they are launching a new garden.
The current admin create route is /garden/create. Use https://admin.greengoods.app/garden/create when you need to open the form directly.
Before you start
Have these ready so you can finish in one pass:
- Deployer access in Green Goods admin. If
/garden/createshows a permissions error, ask the platform team to add you as a deployer. - A name, short description, and location for the garden.
- A banner image, if you have one.
- An ENS subdomain idea. The form suggests one from the garden name, but you can edit it.
- The garden domains: Solar, Agroforestry, Education, or Waste. Domains decide which action templates gardeners can submit against later.
- Initial operators and gardeners as
0xaddresses or ENS names. Passkey users may need to share the smart account address shown in Profile. You can add or fix members after launch. - A funded deployer wallet on Arbitrum for the deployment transaction.
The form saves draft progress locally as you move through it, but the deployment itself requires a live connection and a wallet signature.
Step-by-step flow
Step 1: Open the Create Garden form
- In admin, open Garden from the bottom navigation, then click Create.
- You can also go directly to
/garden/create. - If you hit a 404 or permissions warning, stop and ask for deployer access.
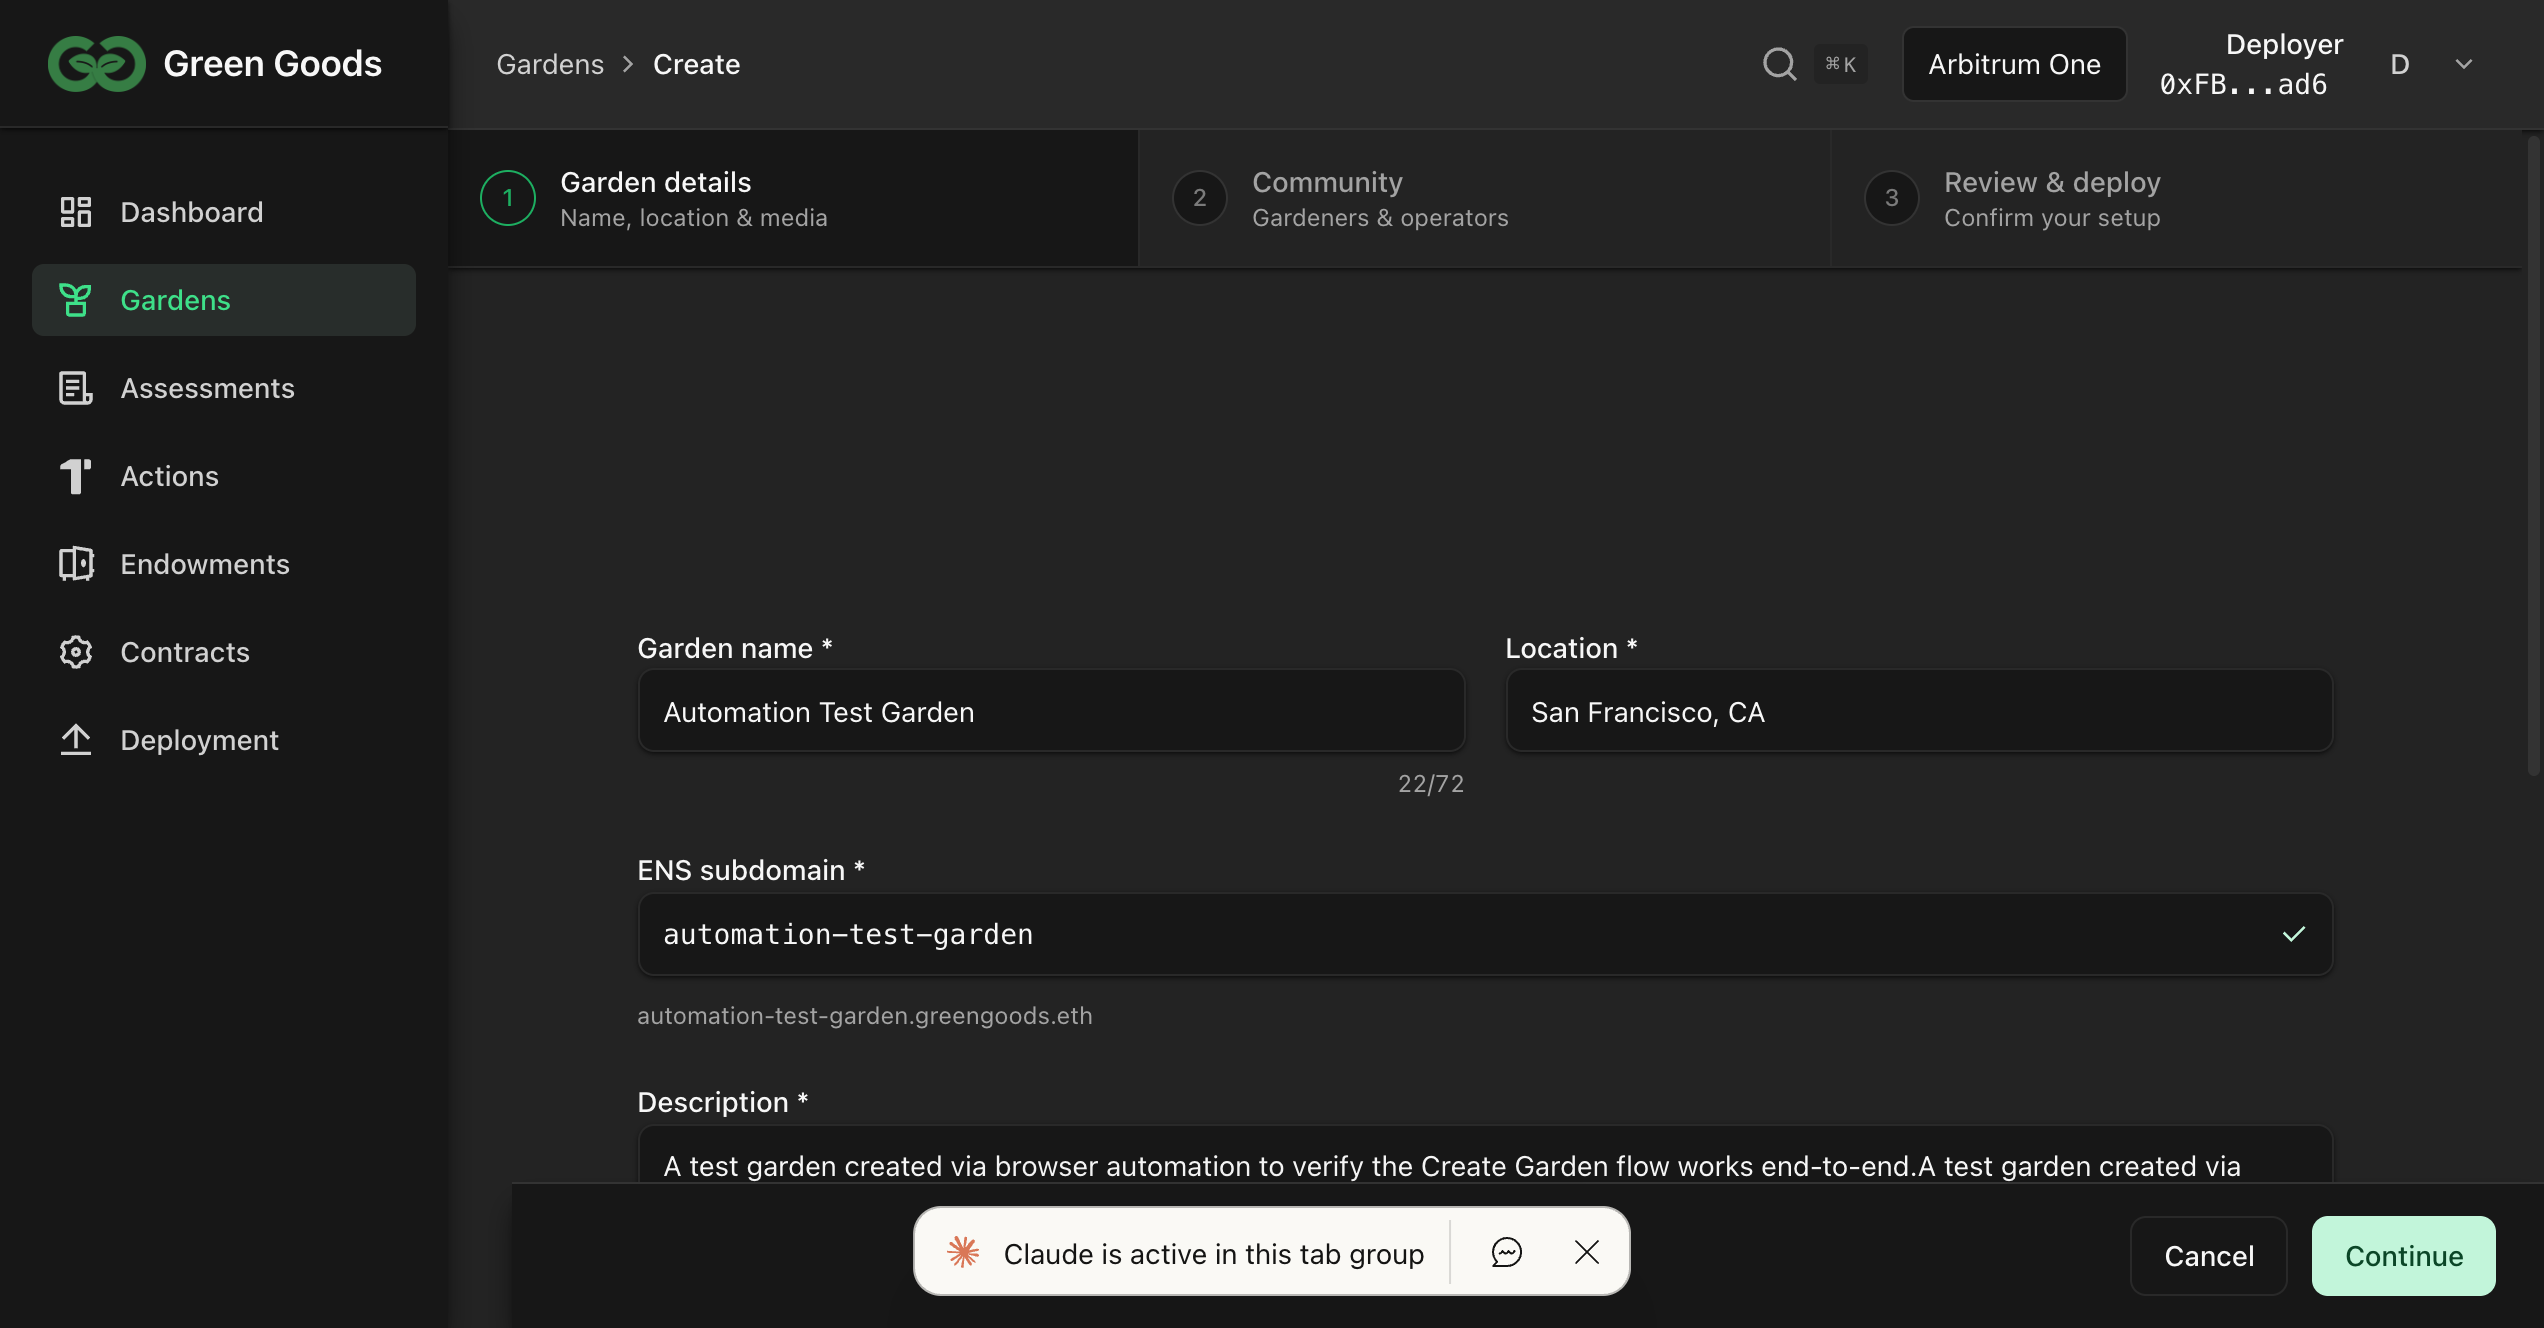
Step 2: Fill in Garden details
- Enter the Garden name.
- Review the suggested ENS subdomain and edit it if needed.
- Enter the location and a short description.
- Add a banner image if one is ready.
- Select the domains this garden will actually use: Solar, Agroforestry, Education, or Waste.
- Click Continue.
Step 3: Add the initial team
- Add the operators who should manage the garden.
- Add the gardeners who should be able to submit from day one.
- Use the exact address or ENS name each person uses in Green Goods. Passkey users may need to share the smart account address shown in Profile.
- You can leave either list empty and add members later from Garden Members.
- Click Continue.
Step 4: Review and deploy
- Read back the summary: name, slug, description, joining policy, domains, and team.
- If the create form does not expose a joining-policy selector, treat the garden as restricted until you confirm settings after launch.
- Fix anything that looks wrong before signing.
- Click Deploy garden and approve the transaction in your wallet.
- Wait for confirmation. Keep the tab open while the form finishes.
How to know it worked
- The app redirects back to the garden list at
/garden. - A success toast confirms the garden was created.
- The new garden appears in the garden list.
- Initial members appear in Garden Members after indexing catches up.
- The public/app garden view shows the expected banner, location, description, and domains.
After launch
- Verify the initial operators and gardeners in Garden Members.
- Confirm the joining policy before sharing the garden link.
- Add or activate the actions gardeners should submit against, based on the domains you enabled.
- Make an assessment before the review queue grows, if the garden needs baseline context.
If something goes wrong
- 404 or permissions warning. You are not a deployer, or this admin build does not expose the route. Ask the platform team.
- Offline warning on deploy. Reconnect and retry. Your form draft should still be there if local draft storage is available.
- Name or ENS already taken. Pick a different garden name or edit the ENS subdomain.
- Cannot deploy yet. A required field is missing. Go back through the steps and look for highlighted fields.
- Transaction cancelled. You cancelled the wallet signature. Retry when ready.
- Transaction failed. Check the wallet message, make sure you are on Arbitrum, confirm the same signer is connected, and retry when the wallet has enough gas.
- Member did not appear. Add them from Garden Members after the garden indexes.
- Still stuck. Use the Green Goods Telegram support link in the docs footer.
Next step
Next page
Make an assessment
Before the review queue fills up, record the domain, reporting window, outcomes, and context that later approvals should support.
Make an Assessment